
Insulated lunch bag travel is one of those things that sounds simple until you hit hour three of a day trip and your “cold” pasta salad feels… not cold anymore. If you’ve ever opened your bag to a lukewarm yogurt, crushed sandwich, or leaky ice pack, you already know why the details matter.
For day trips, you’re usually dealing with two constraints at once, limited space and limited temperature control. You may be in a car, on a train, at a beach, or walking around a museum all afternoon, and your lunch bag has to keep up without turning into a heavy cooler you regret carrying.
This guide stays practical. You’ll see what features actually matter, how to pack so food holds temperature longer, and how to tell when you should switch to a real cooler instead of forcing a lunch bag to do a cooler’s job.
What “good” looks like for day-trip lunch bags
A day-trip lunch bag doesn’t need to be fancy, but it should solve three predictable problems: temperature drift, squishing, and spills. Most frustration comes from one weak link, a thin liner, a zipper gap, or containers that don’t fit the bag’s shape.
When people say a bag “keeps food cold,” they often mean “it worked once.” Real-world performance depends on how you pack, the starting temperature of your food, and how often the bag gets opened in warm air.
- Temperature goal: slow down warming for cold foods, slow down cooling for hot foods, for several hours.
- Structure goal: enough rigidity to protect your lunch, without becoming bulky.
- Carry goal: comfortable handle or strap, because you’ll carry it longer than you think.
Why lunch bags fail on day trips (the common causes)
If your lunches aren’t holding up, it’s usually not because you bought the “wrong brand.” It’s typically one of these scenario issues, and they’re fixable.
- Warm food goes in warm: room-temp items won’t magically become cold later, the bag only slows change.
- Not enough cold mass: one tiny gel pack in a half-empty bag warms quickly.
- Air gaps: empty space is basically an oven chamber, more trapped warm air, faster temperature swing.
- Frequent opening: repeated “quick peeks” dump your cold air, especially outdoors.
- Thin insulation or leaky seams: stitching, zipper corners, and flimsy liners are common weak points.
- Placed in heat: sitting on a sunny car seat or hot pavement defeats the insulation.
According to USDA Food Safety and Inspection Service (USDA FSIS), perishable food should not sit in the “danger zone” of 40°F to 140°F for more than 2 hours, or 1 hour if temperatures are above 90°F. That’s the safety backdrop for how you pack and how long you keep items unrefrigerated.
Quick self-check: do you need a lunch bag or a small cooler?
It’s tempting to push an insulated lunch bag beyond its comfort zone. Sometimes it works, sometimes you’re gambling with food quality, and potentially safety, depending on what you pack.
Use an insulated lunch bag if most of these are true:
- Your trip is roughly 3–6 hours door to door
- You can keep the bag shaded and mostly closed
- You pack shelf-stable snacks or lower-risk items, or you use enough ice packs
- You can start with chilled food straight from the fridge
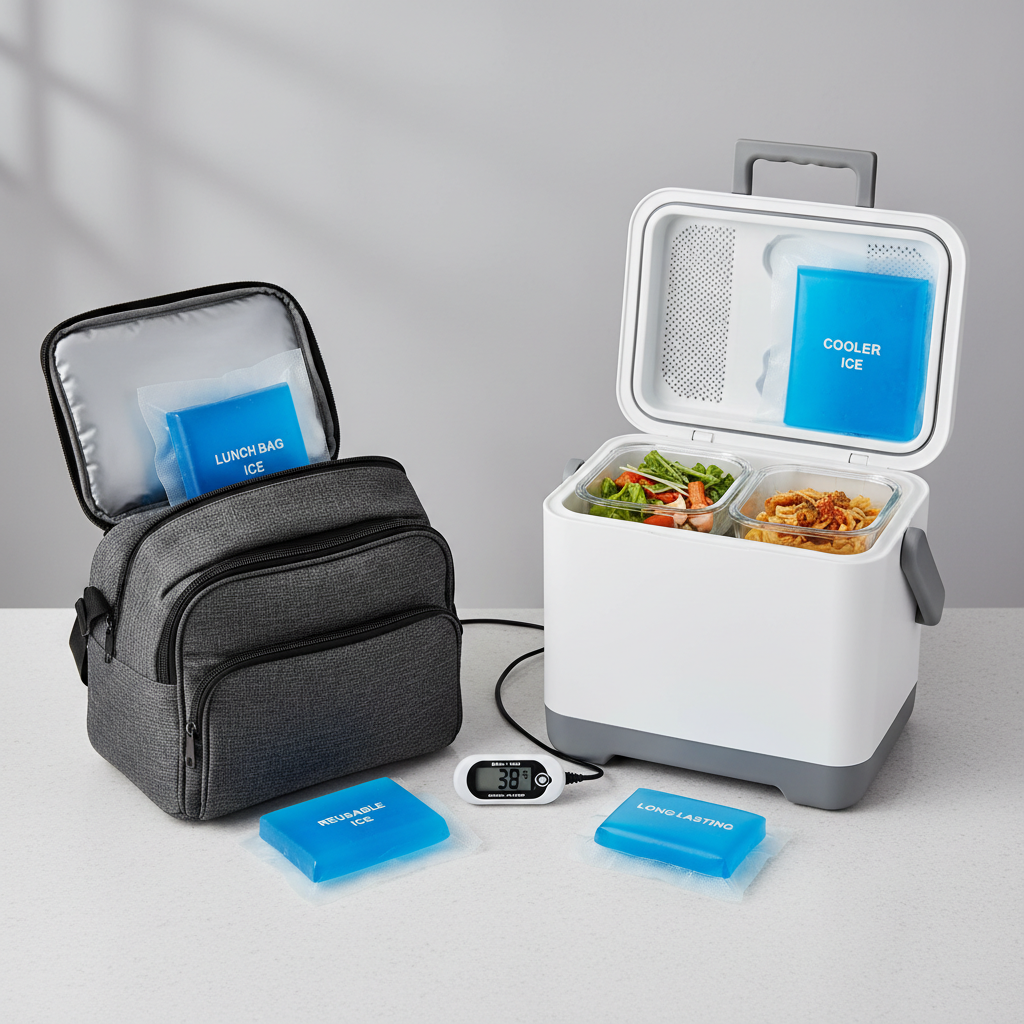
Consider a small hard/soft cooler if you check any of these boxes:
- You need all-day cold (think 8+ hours) in summer heat
- You’re packing high-risk perishables (seafood, dairy-heavy meals, cut fruit for kids)
- You expect the bag to sit in a hot car for long stretches
- You’re bringing food for multiple people
Choosing the right bag: features that actually matter
For insulated lunch bag travel, the “best” bag depends on how you move, car-to-park is different from walking a city all afternoon. Still, a few features consistently make life easier.
Insulation and lining
- Closed-cell foam insulation usually performs better than thin quilted padding.
- Food-safe liner that wipes clean, spills happen, and sticky seams are a deal-breaker.
- Sealed seams help slow air exchange and reduce leakage from condensation.
Closure and shape
- Quality zipper that doesn’t gap at corners, those gaps leak temperature fast.
- Boxy interior fits containers better than tapered “cute” shapes.
- Wide opening makes packing tighter, which improves thermal performance.
Carry comfort and travel fit
- Shoulder strap matters if you’re walking more than 10–15 minutes at a time.
- Backpack compatibility or a flat base helps it sit upright in transit.
- Exterior pockets are useful for napkins and utensils, not great for keeping perishables cold.
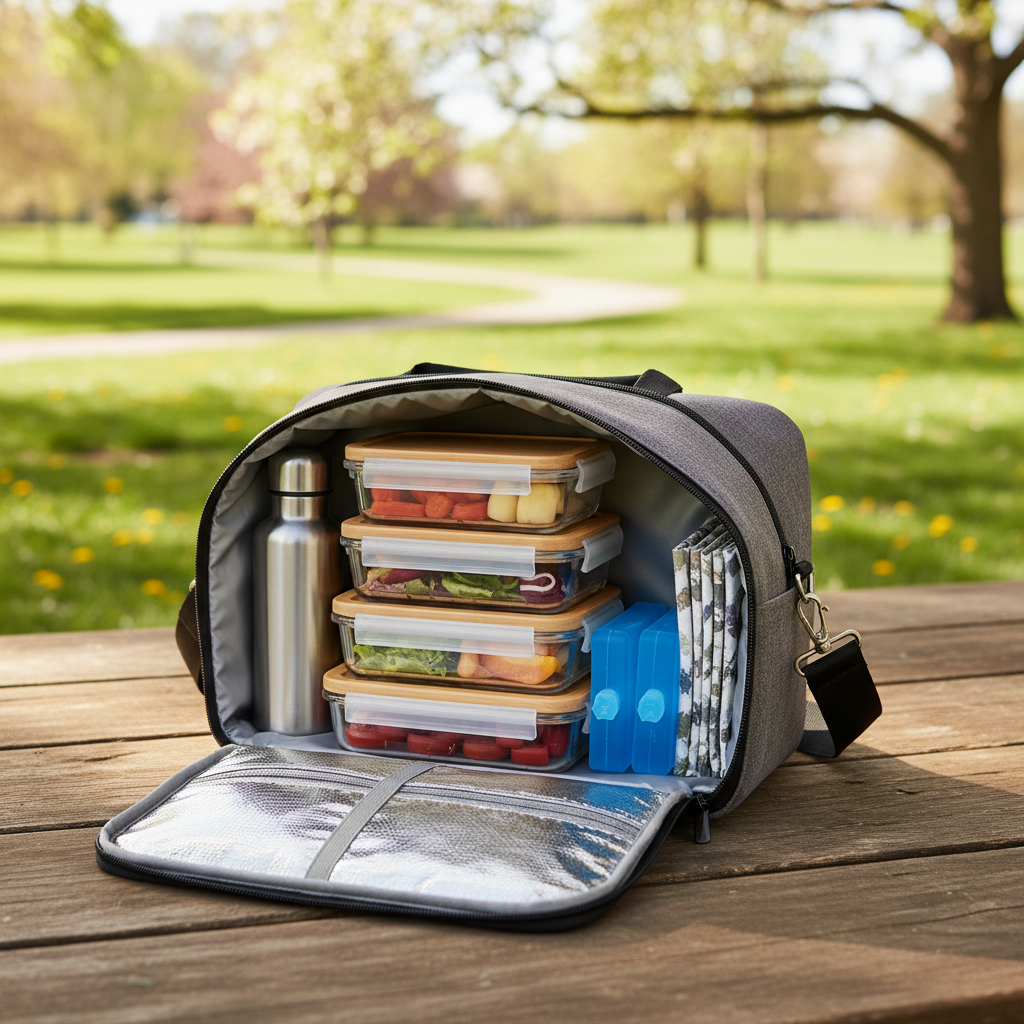
Packing method that keeps food cold (or hot) longer
Most people focus on the bag, but packing method often moves the needle more. Think in layers and “cold mass,” not in wishful insulation.
- Start cold: chill containers and foods in the fridge overnight when possible.
- Pre-chill the bag: if you can, toss an ice pack in the empty bag 15–30 minutes before packing, then swap for your travel ice packs.
- Use two ice packs: one on top, one on bottom, cold air sinks less than you want it to.
- Fill the space: add a cold drink, extra fruit, or a thin towel so there’s less warm air inside.
- Keep it closed: pack snacks you’ll grab often in a separate pocket or separate bag.
If you’re packing hot food, the rules flip. Use a dedicated hot container, keep it full (more thermal mass), and avoid mixing hot and cold in the same compartment unless the bag is designed for dual zones.
Day-trip scenarios: what to pack and how to carry it
Here’s the part most guides skip, the same lunch bag behaves differently depending on where you spend your day. Adjusting small habits often beats buying new gear.
Road trip stops and scenic pull-offs
- Keep the bag out of direct sun, floor behind the passenger seat is often cooler than the seat itself.
- If you have a trunk, remember it can run hotter than the cabin in summer.
- Pack “one-open” lunches, a single container meal reduces open time.
Beach or outdoor sports
- Wrap the bag in a light towel for extra shade and insulation.
- Bring higher-salt, lower-mayo options if you’re unsure about cold holding.
- Sand happens, a wipe-clean liner becomes non-negotiable.
Museums, city walks, and transit days
- Prioritize a slimmer, lighter bag with a comfortable strap.
- Pack less liquid unless your containers are truly leak-resistant.
- Plan a mid-day refill, buy a cold drink to add cold mass if needed.

Practical cheat sheet: foods, containers, and ice strategy
Not all lunches have the same risk level or packing needs. This table helps you match what you bring with how much cooling support you should plan for.
| What you pack | Typical risk on warm days | What helps most |
|---|---|---|
| Sandwich with deli meat | Medium | Keep in center, 2 ice packs, limit opening |
| Yogurt, cheese, milk-based snacks | Medium to high | Start fridge-cold, top and bottom ice packs, insulated bottle |
| Cut fruit and veggies | Medium | Cold rinse then chill, pack tight, keep shaded |
| Pasta salad with mayo | Higher | Extra ice, consider shelf-stable alternative if heat is intense |
| Whole fruit, nuts, crackers, jerky | Low | Use as gap-fillers, easy grab snacks outside main compartment |
Key takeaways for travel packing:
- Food safety is about time and temperature, not just “still feels cool.”
- Cold mass and tight packing usually beat a larger, half-empty bag.
- If you can’t keep perishables cold reliably, swap the menu before you swap the bag.
Mistakes that ruin lunches (even with a good bag)
You can do everything “right” and still end up disappointed if one of these slips in, they’re common, and they’re sneaky.
- Relying on thin single-use ice packs: they warm quickly and often don’t cover much surface.
- Storing ice packs on one side only: one-sided cooling leaves warm zones.
- Putting the bag in the sun “for a minute”: heat spikes fast in midday summer.
- Overpacking liquids: leaks create mess and reduce insulation effectiveness.
- Mixing hot and cold: you end up with food that’s all “kind of warm.”
If someone in your group is pregnant, immunocompromised, or very young, be more conservative with perishables. When in doubt, safer menu choices and shorter holding time are usually the right tradeoff, and for specific health concerns it’s reasonable to consult a medical professional.
Wrap-up: a simple day-trip routine that works
Insulated lunch bag travel works best when you treat it like a system, cold food, enough ice, tight packing, and keeping it out of heat. If you only change one habit, start with pre-chilling food and using two ice packs, it’s the quickest improvement most people notice.
If you want an easy next step, do a “dry run” at home: pack your typical lunch bag, leave it closed for four hours, then check how everything feels and looks. That quick reality check tells you whether you need better packing, different foods, or a different bag size.
FAQ
How long can an insulated lunch bag keep food cold on a day trip?
Many setups handle a few hours well, but the range depends on starting temperature, ice pack size, and outside heat. If you’re carrying perishables, plan conservatively and aim for stronger cold support as the day gets hotter.
What’s the best way to place ice packs in a lunch bag?
Top-and-bottom placement usually cools more evenly than “one pack on the side.” Keeping the most perishable items centered, surrounded by cold, tends to work better than putting them against the outer wall.
Can I put hot and cold food in the same insulated lunch bag?
You can, but quality often suffers unless the bag has separate insulated compartments. Hot items warm the interior air, and cold items lose their advantage faster, so it’s typically better to separate or choose one temperature direction for the meal.
Do I need a lunch bag with a hard liner for travel?
Not always, but semi-rigid sides help prevent crushed food and make packing tighter, which can improve temperature retention. If you mostly carry soft foods or you’re tight on space, a softer bag can still work with the right containers.
Is it safe to pack mayo-based foods for a summer day trip?
It can be, but it’s less forgiving. If you can’t keep the food reliably cold with sufficient ice packs and minimal opening time, consider alternatives that tolerate heat better, or shorten the time before you eat.
How do I keep an insulated lunch bag from smelling after trips?
Wipe spills quickly, let the bag dry fully with the zipper open, and occasionally use a mild soap solution if the liner allows it. Odors often come from moisture trapped in seams, so drying matters as much as cleaning.
What size insulated lunch bag is best for day trips?
Big enough for your containers plus ice, but not so big that you leave lots of empty air space. For many people, a medium, boxy bag that fits one main meal container, a snack, and two slim ice packs is a comfortable starting point.
If you’re trying to improve your day-trip lunches and you’re stuck between “too small” and “too bulky,” it may help to pick your typical meal containers first, then choose a bag that fits them tightly with room for ice packs, that approach usually reduces trial-and-error shopping.