
How to organize a toiletry bag for travel comes down to two things: keeping liquids from leaking and making your daily routine easy when you’re tired, in a hurry, or sharing a tiny bathroom.
If your bag turns into a sticky mess, it usually isn’t because you “packed wrong,” it’s because the bag has no system: too many duplicates, no separation between wet and dry, and no quick way to find the one thing you actually need.
This guide gives you a practical setup you can reuse for weekend trips, business travel, and longer vacations, plus a quick checklist, a simple table of what to pack, and a few small upgrades that make a big difference.
Start with the right toiletry bag (it matters more than people think)
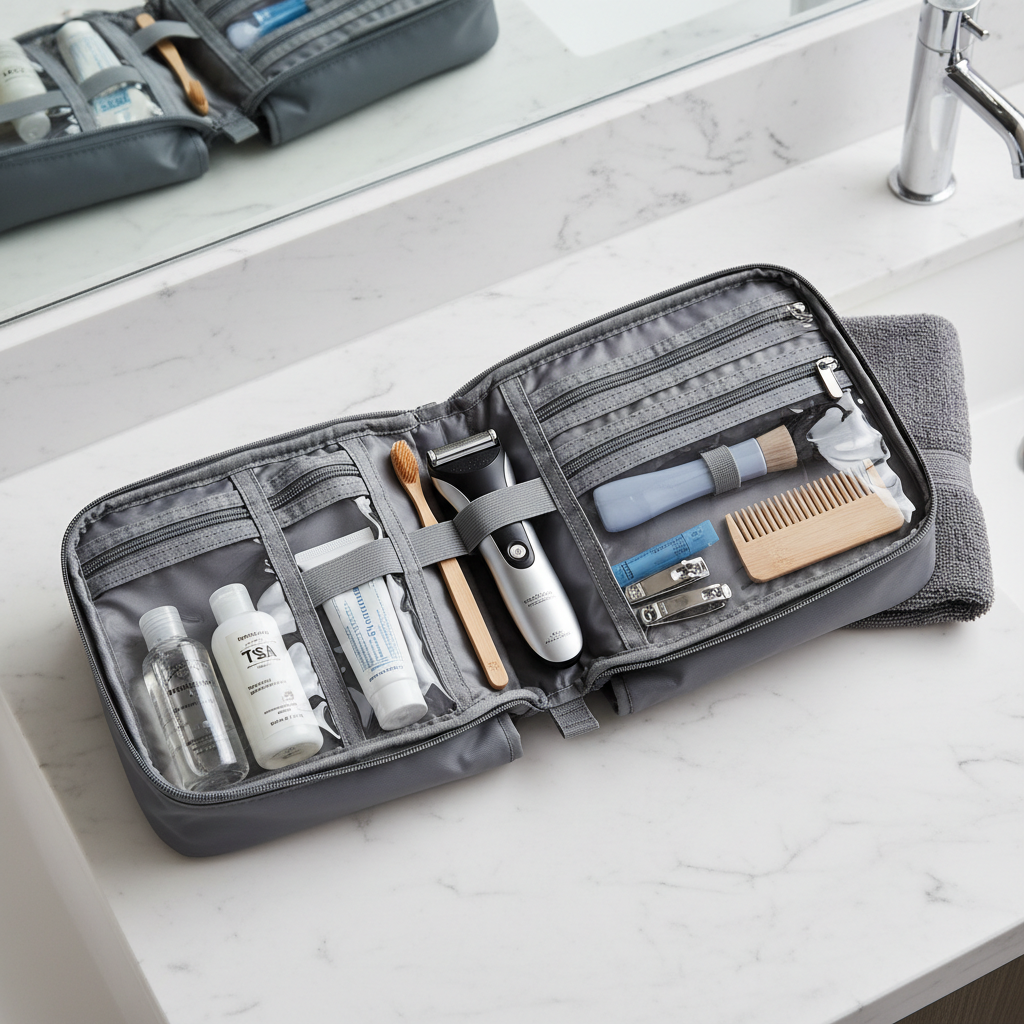
A good bag does some organizing for you, so you rely less on “remembering where you put things.” For most travelers, a medium bag with a flat base and wipe-clean lining works better than an oversized dump pouch.
- Wide opening: you can see everything without digging
- Separate zones: at least one zip pocket and one open compartment
- Leak-friendly interior: coated lining or removable clear pouch
- Stands on its own: fewer countertop spills, easier access
If you fly often, a bag that plays nicely with a clear liquids pouch (or has one built in) saves time at security, even if you don’t always need it.
Decide your “travel kit” vs. “daily bathroom” items
The fastest way to keep things tidy is to stop repacking from scratch each trip. Create a small core kit that stays packed, then add a few trip-specific extras.
Core kit (stays packed)
- Toothbrush + toothpaste
- Deodorant
- Basic hair care (mini brush/comb, hair ties, small styling product if you use it)
- One moisturizer and one cleanser (or your simplest routine)
- Razor or shaving essentials
- Small first-aid basics (bandages, blister care)
Trip-specific add-ons (pack only when needed)
- Beach: after-sun, aloe, extra SPF
- Cold weather: richer moisturizer, lip balm
- Business: beard trimmer, wrinkle spray, fragrance (small)
- Long trip: laundry soap sheets, nail kit, backups
This “core + add-ons” approach is the backbone of how to organize a toiletry bag for travel without feeling like you’re playing Tetris every time.
Use a simple 3-zone layout (so you stop rummaging)
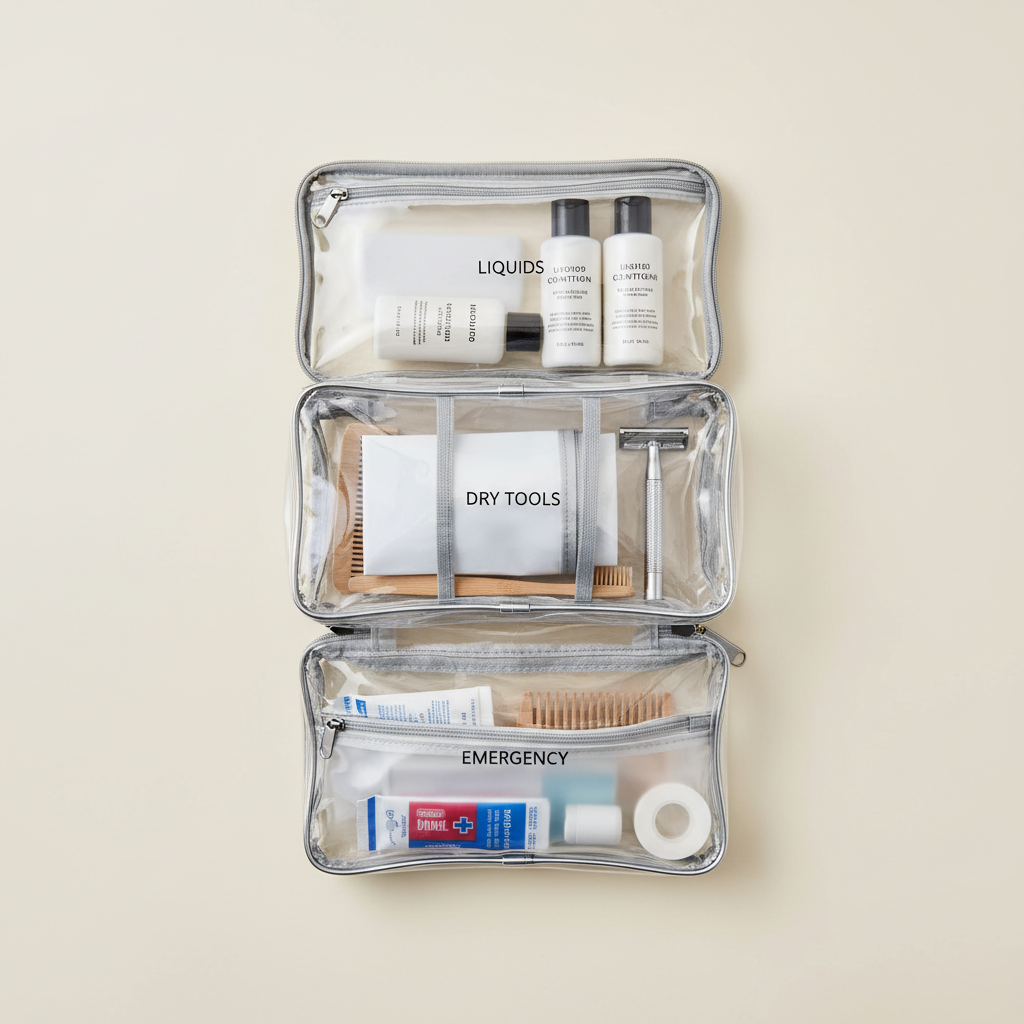
Most toiletry chaos is really “category confusion.” Put items into three zones and keep them there every trip, even if the bag changes.
- Liquids: shampoo, face wash, contact solution, serum, anything that can leak
- Dry tools: toothbrush, razor, tweezers, nail file, brush
- Emergency/backup: pain reliever, bandages, a couple of wipes, spare contacts
When you arrive, you should be able to unzip once, grab what you need in under 10 seconds, and zip back up without reorganizing the whole thing.
Prevent leaks and TSA surprises (without overthinking it)
If you’ve ever opened your bag to find lotion on everything, you already know leaks don’t just ruin toiletries, they ruin time. A few habits cut most problems down.
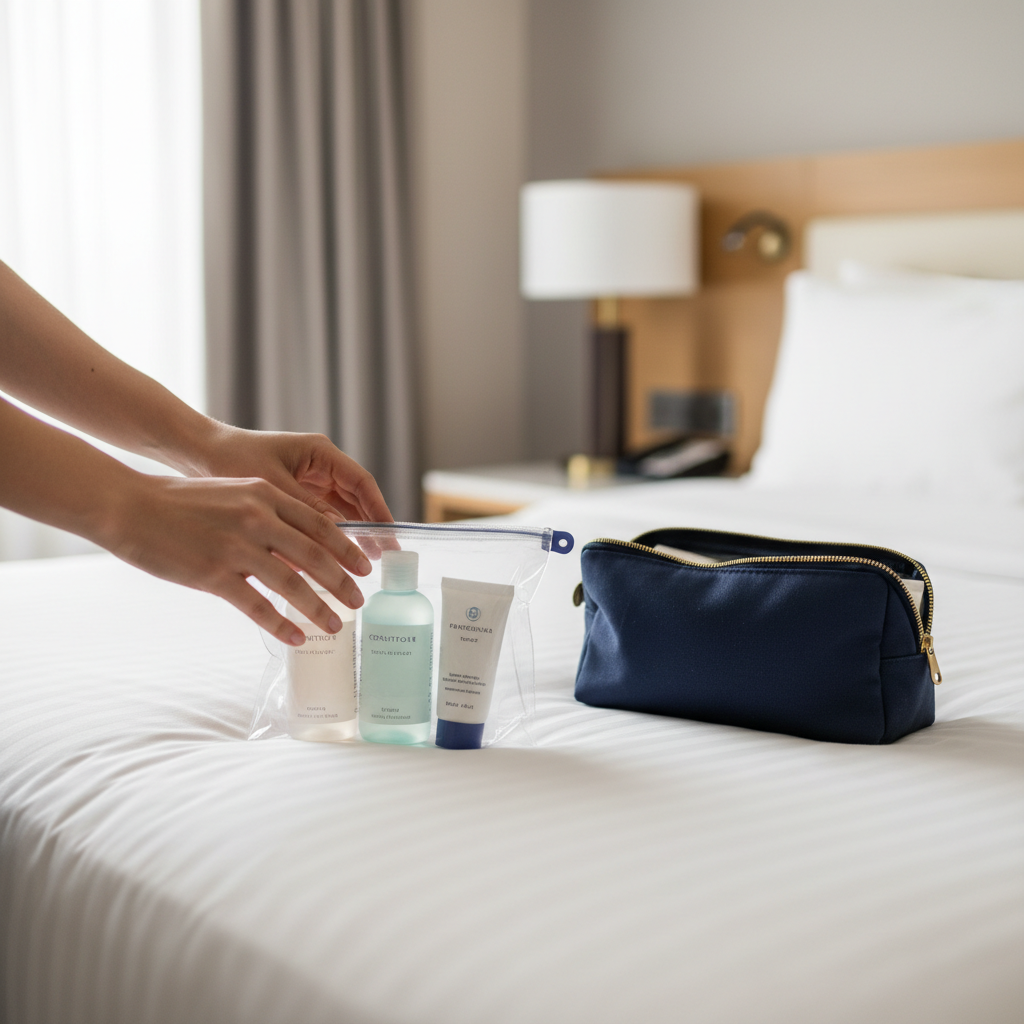
- Go smaller: travel bottles beat “I’ll just bring the full size” in most cases
- Double-seal liquids: put liquids in a clear zip pouch even if your bag has compartments
- Tighten, then tape: for thin caps, a small piece of tape can help during pressure changes
- Keep them upright: if your bag stands, store liquids in the bottom section
According to the Transportation Security Administration (TSA), carry-on liquids must follow the 3-1-1 rule (3.4 oz containers in a 1 quart bag, 1 bag per passenger), with some exceptions for medically necessary items. If you’re unsure, check current guidance before you fly.
Also, if you pack anything that could be considered a sharp (some razors, grooming scissors), airline rules vary, so it’s safer to confirm with your carrier if you’re carrying on only.
What to pack: a practical table you can copy
People ask for a “perfect packing list,” but the real win is packing fewer items that do more. Use this as a baseline and edit to your routine.
| Category | Good default | Optional upgrades |
|---|---|---|
| Teeth | Toothbrush, toothpaste, floss picks | Mini mouthwash (if flying, TSA size) |
| Skin | Cleanser, moisturizer, SPF | Serum, eye cream (only if you’ll use them) |
| Hair | Comb/brush, travel shampoo or bar | Styling cream, dry shampoo (mind aerosol rules) |
| Shave/Groom | Razor, shave gel/cream, tweezers | Trimmer, beard oil (tiny bottle) |
| Health basics | Bandages, blister care, wipes | Prescription meds (as directed by a clinician) |
Key point: if an item doesn’t solve a predictable need on your trip, it probably belongs at home.
A 10-minute packing routine you can repeat every trip
Once your kit exists, packing should feel boring, and that’s a compliment. Here’s a routine many frequent travelers end up using.
Step 1: Reset the bag
- Toss obvious trash, wipe any residue
- Refill travel bottles to a consistent “standard level”
Step 2: Pack by order of use, not by category alone
- Morning routine items near the top or outer pocket
- Night routine items slightly deeper
- “Rarely used” items in the tightest pocket so they don’t float around
Step 3: Do a 20-second leak check
- Squeeze bottles lightly, confirm caps feel snug
- Liquids into the clear pouch, then pouch into the bag
Common mistakes (and what to do instead)
Most “messy bag” issues repeat across travelers, and the fix is usually small, not a full re-buy.
- Mistake: bringing full-size bottles “just in case”
Do instead: decant into travel containers, keep one spare empty bottle for emergencies - Mistake: mixing wet and dry items
Do instead: dedicate one pouch to liquids, one to tools - Mistake: packing too many samples
Do instead: pick 2–3 samples max, otherwise they become clutter - Mistake: no routine for refills
Do instead: reset your kit the day you get home, not the night before you leave
If you’re trying to figure out how to organize a toiletry bag for travel and nothing sticks, it’s often because you reorganize every trip. Consistency beats perfection here.
When it makes sense to get extra help (or simplify hard)
If you travel with medical supplies, sensitive skin products, or multiple prescriptions, your setup may need more than the usual “one bag” approach. It can be smart to ask a pharmacist or clinician about travel-friendly packaging, storage temperatures, and timing across time zones, especially if a missed dose would cause problems.
For families, the simplest path is usually two kits: one for adults, one for kids, rather than trying to build one mega-bag that no one can find anything in.
Conclusion: keep it predictable, not perfect
The best toiletry bag is the one you can pack on autopilot, open without spilling, and close in under a minute. Build a small core kit, stick to a 3-zone layout, and treat leak prevention as part of the system, not an afterthought.
Action to take today: pick one bag, create your core kit, and do one quick reset after your next trip so you stop starting from zero.